How to Assemble the Internet Wiring Harness
Introduction
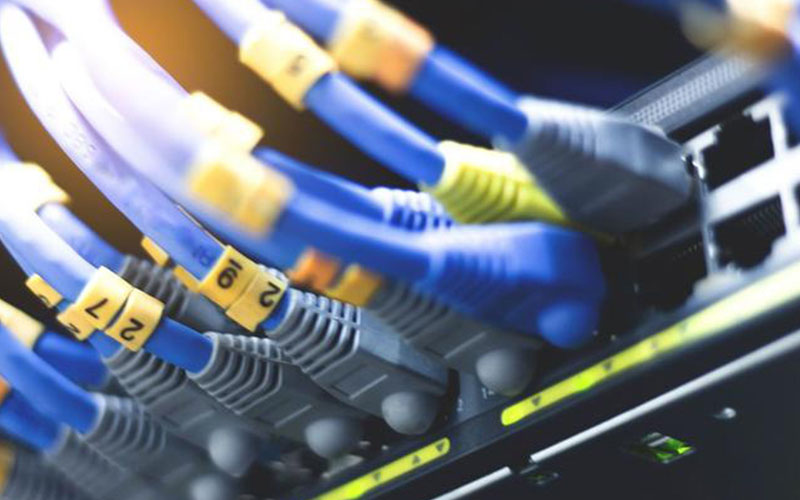
In the digital age, a reliable and efficient internet connection is essential for both personal and industrial use. The internet wiring harness plays a crucial role in maintaining stable network communication by bundling and organizing cables. Whether you are a telecom engineer, a networking specialist, or a manufacturer, understanding how to properly assemble an internet wiring harness is critical to ensuring optimal performance and longevity.
This guide will walk you through the step-by-step assembly process, highlight essential tools and materials, and provide expert tips for achieving a high-quality harness.
Tools and Materials Needed
Before assembling an internet wiring harness, ensure you have the following:
Tools:
✔️ Wire Strippers
✔️ Crimping Tool
✔️ Soldering Iron (if necessary)
✔️ Heat Shrink Tubing and Heat Gun
✔️ Cable Tester
✔️ Labeling Machine
✔️ Electrical Tape and Zip Ties
Materials:
✔️ Ethernet Cables (Cat5e, Cat6, or Cat7)
✔️ RJ45 Connectors
✔️ Connector Housing
✔️ Protective Sleeving
✔️ PCB Terminals (if applicable)
✔️ Grounding Wires (for industrial applications)
Step-by-Step Guide to Assembling an Internet Wiring Harness
Step 1: Design and Planning
- Identify the length and type of cables needed for the harness.
- Plan the cable routing to minimize interference and signal loss.
- Label the cables according to network structure for easy identification.
Step 2: Cutting and Stripping Wires
- Measure and cut the Ethernet cables to the required lengths.
- Use a wire stripper to remove the outer insulation without damaging the internal twisted pairs.
- Ensure each cable maintains the twisted pair integrity to prevent signal loss.
Step 3: Crimping RJ45 Connectors
- Arrange the individual wires in the TIA/EIA 568A or 568B standard.
- Insert the wires into an RJ45 connector, ensuring each wire reaches the correct pin position.
- Use a crimping tool to secure the connection.
Step 4: Bundling and Organizing the Harness
- Group the cables together using protective sleeving or tubing.
- Secure them with zip ties or cable ties at regular intervals.
- If necessary, use heat shrink tubing to reinforce fragile areas.
Step 5: Installing and Securing Connectors
- Attach any required mounting clips or brackets to hold the wiring harness in place.
- Ensure the connectors are properly seated into the designated ports.
- For industrial applications, add shielding to protect against electromagnetic interference (EMI).
Step 6: Testing and Quality Inspection
- Use a cable tester to check for continuity and correct wiring sequence.
- Inspect the harness for loose connections, exposed wires, or potential weak points.
- Conduct stress and flexibility tests to ensure durability.
Common Mistakes to Avoid
🚫 Using incorrect crimping techniques, leading to weak connections.
🚫 Exposing Ethernet cables to excessive bending or pulling, which can damage internal wires.
🚫 Skipping the testing phase, resulting in faulty connections.
🚫 Ignoring shielding and grounding in industrial setups, which may cause signal interference.
Conclusion
Proper assembly of an internet wiring harness is essential for maintaining efficient network performance in both residential and industrial applications. By following this step-by-step guide, you can ensure a secure, organized, and high-quality harness that enhances connectivity and reliability.
For custom internet wiring harness solutions, FPIC specializes in high-performance cable assemblies for telecommunications, data centers, and industrial networking. Contact us today to learn more!
📩 Email us: info@sz-fpi.com
🌐 Visit us: www.sz-fpi.com


